Step 1: Always start by creating a new layer, just in case you need to un-do your steps.
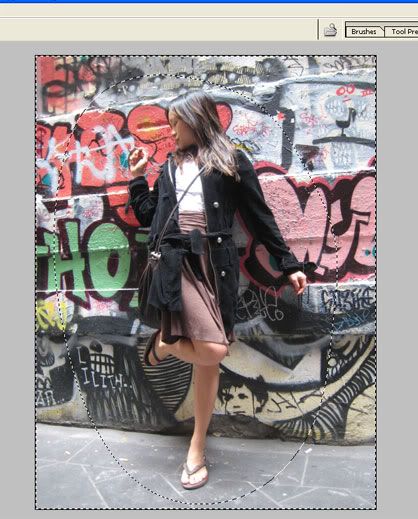
Step 2: Use the lasso tool and create an oval selection. Your oval does not have to be perfect. Set the feather to 200 px (some tutorials recommend a lower px but i like the dynamic effect)

Step 3: Inverse the selection (Select> Inverse or Shift+Ctrl+I)
Step 4: Click on Image > Adjustments > Levels. Move the middle button to the right. I moved it pretty far right, again to create a more dynamic effect. Make sure you tick the preview button to preview the new effect.
Step 5: Lomo photographs have pretty strong and contrasting colours. I realised that the best way to create this effect is to play around with the red and green colours. Click on window > channels. And then click on red (make sure only red is highlighted). Then click on Image > Adjustments > Brightness/Contrast. Change the contrast to approximately + 50.
Step 6: Subsequently, do the same thing for green. Click on 'green' in the 'Channels' box. Then click on Image > Adjustments > Brightness/Contrast. Change the contrast to approximately + 50.
Step 7: Click on RGB in the channels box to reveal the new effects.
Step 8: Finally, the effect will be more apparent if the image is sharpen. But before this image can be sharpened, the image must firstly be flattened. To sharpen this image, click on Image > Mode > Lab colour. (If the image has not been flattened, photoshop will ask you whether you want to merge the layers. Click 'merge')In the 'Channels' box, click on lightness. Then, click on filter > sharpen > unsharp mask. Then click on Image > Mode > RGB colour to reveal the new effects.
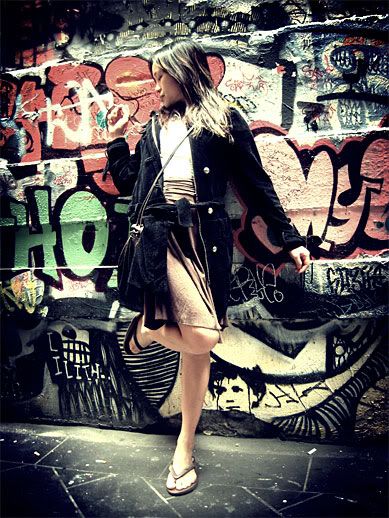
Step 9 (Additional step): I don't really like following this additional step as I prefer my pictures to be more saturated but this step will create a more genuine lomo effect. Create a new layer. Fill the new layer with black. Then, in the layers box, change the mode to 'hue'. Reduce the opacity to about 40%.

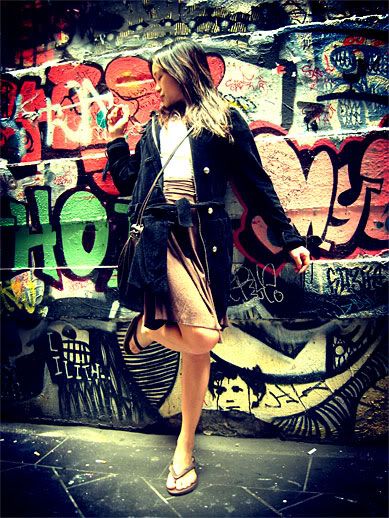
Edited photograph without step 9

Edited photograph with step 9


No comments:
Post a Comment