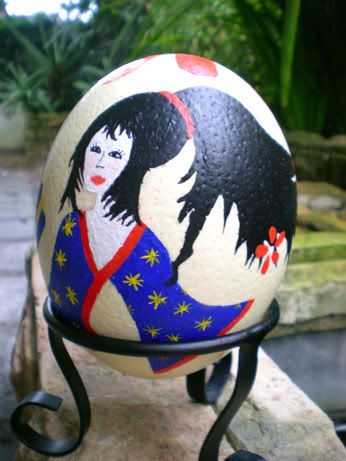
Edited from this picture.

I found this tip on the photoshop911 website. It's pretty easy to follow!
Step 1: First: Select the image you plan to use. Here, we've moved it to a new layer with white as our background in order to demonstrate the effect later. You do not necessarily need to do this.
Step 2: Set the type: Now, set the word using the type input method of your current version of Photoshop or Elements. Here we used a heavy, condensed type style to provide as much area for the image as possible. In earlier versions, this type will be rastarized as a picture object. In later versions it will be live type, and you can leave it like that if you wish.
Step 3: Select the type to make a "cookie cutter": In later versions, you can Command / Click (Ctrl/Click) the layer to SELECT the type. This displays the "racing ants" around each letter indicating that it is selected. Step 4: Float the Image into the Selection:
a. Click the Photo layer to select it - while the selection is active
b. Float or "pick up" the image by using the Float command/J (Ctrl/J)
c. The selection will fill with a COPY of the art within the selection and generate a new layer (below)
(Note: older versions will need to use Edit > Copy, then create a new layer, and Edit > Paste)


2 comments:
Jia Wen, finally I see your egg. I think you should consider a career in egg designing :P
very funny! Never again...
Post a Comment